43 how to label binder
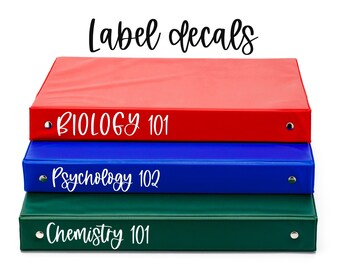
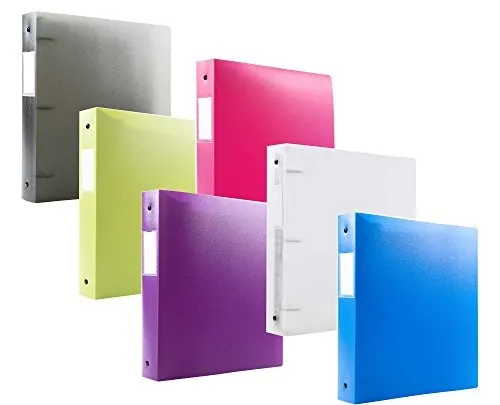
Binder Sizes - Your 2022 Complete Guide | PackZen 625 pages. 3 inches. 561 pages. 636 pages. 750 pages. Please bear in mind that different binders from different manufacturers may hold a slightly larger or smaller number of sheets. The important takeaway here is that the "D" ring type binders will always hold more sheets than the round or "O" ring type binders. Binder Labels with Cricut - Sengerson Orientation of Binder Labels Generally, binder labels have the top of the letters facing left with the bottom labels oriented towards the right. Materials for Binder Labels There are various materials you can use for making labels with a Cricut machine. Vinyl Transfer Vinyl Tape
Label Colors in the Binder - Scrivener Classes Binder colors are represented as dots at the right end of the item line, rather than a full bar of color. Personally, I like the dots, but if you don't, never fear! You can have your full color bar back. If Label colors are not turned on in the Binder, go to View>Use Label Color In>Binder. Choose View>Use Label Color In>Use Full Width in Binder.

How to label binder
DIY Binder Dividers: Free Printable Templates - Blue Summit Supplies Step 1: To reinforce the edge of your DIY binder dividers, apply a long strip of packing tape over the left edge of each piece of cardstock, folding it over so that it covers the entire edge. Then, punch the divider with a 3-hole punch for use in a binder. 3 Ways to Insert a Label Into a Binder Spine - wikiHow Customize these however you wish for an easy way to create a typed label of exactly the right size. [1] Method 2 Putting the Label Into the Spine Download Article 1 Turn the binder inside out and upright. Open up your binder and bend back the front and back covers until they are completely in the other direction. How to Create Binder Inserts in Microsoft Word - YouTube Subscribe Now: More: binder inserts in Microsoft Word...
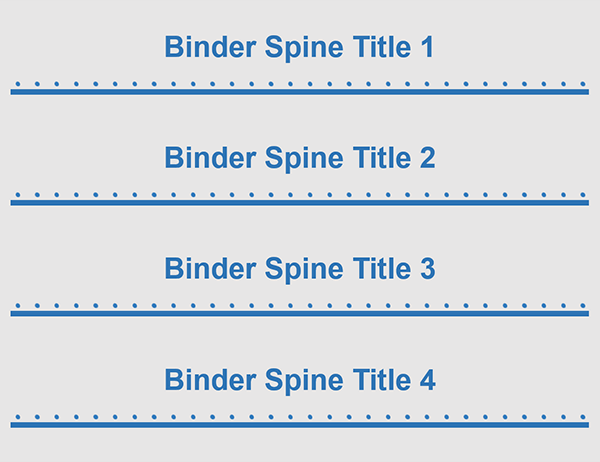
How to label binder. Binder label template with excel Simply download the corresponding template, change the text (date and area of use), print it out and cut it out with scissors. And you have already realized a great and neat labeling of your folders! Screenshots of the label-template for folder and binder Broad label for folders with excel slender label for folders with excel Create Binder Spine Inserts with Avery Design & Print Go to Avery Design & Print. Click on Create Project By Product Type to get started. Under Product Category, select Binders, then under Product Number, select the 00000 - Binder Spine inserts for the width of your binders. Then click Next. Step 2: Choose a Template You'll find a variety of options to choose from. What to label your dividers? - General Students, Support, Stories ... The folders I will be using for class are actually pretty neat. They come with 5 built in side divider tabs already inside the cover. I bought more, though, for my handouts, powerpoints, etc. So far, I have my 5 built in side divider labels labelled as follows: Schedule, Syllabus, Due Today, Homework, & Test Material. How to Create Binder Inserts in Microsoft Word - YouTube See more:
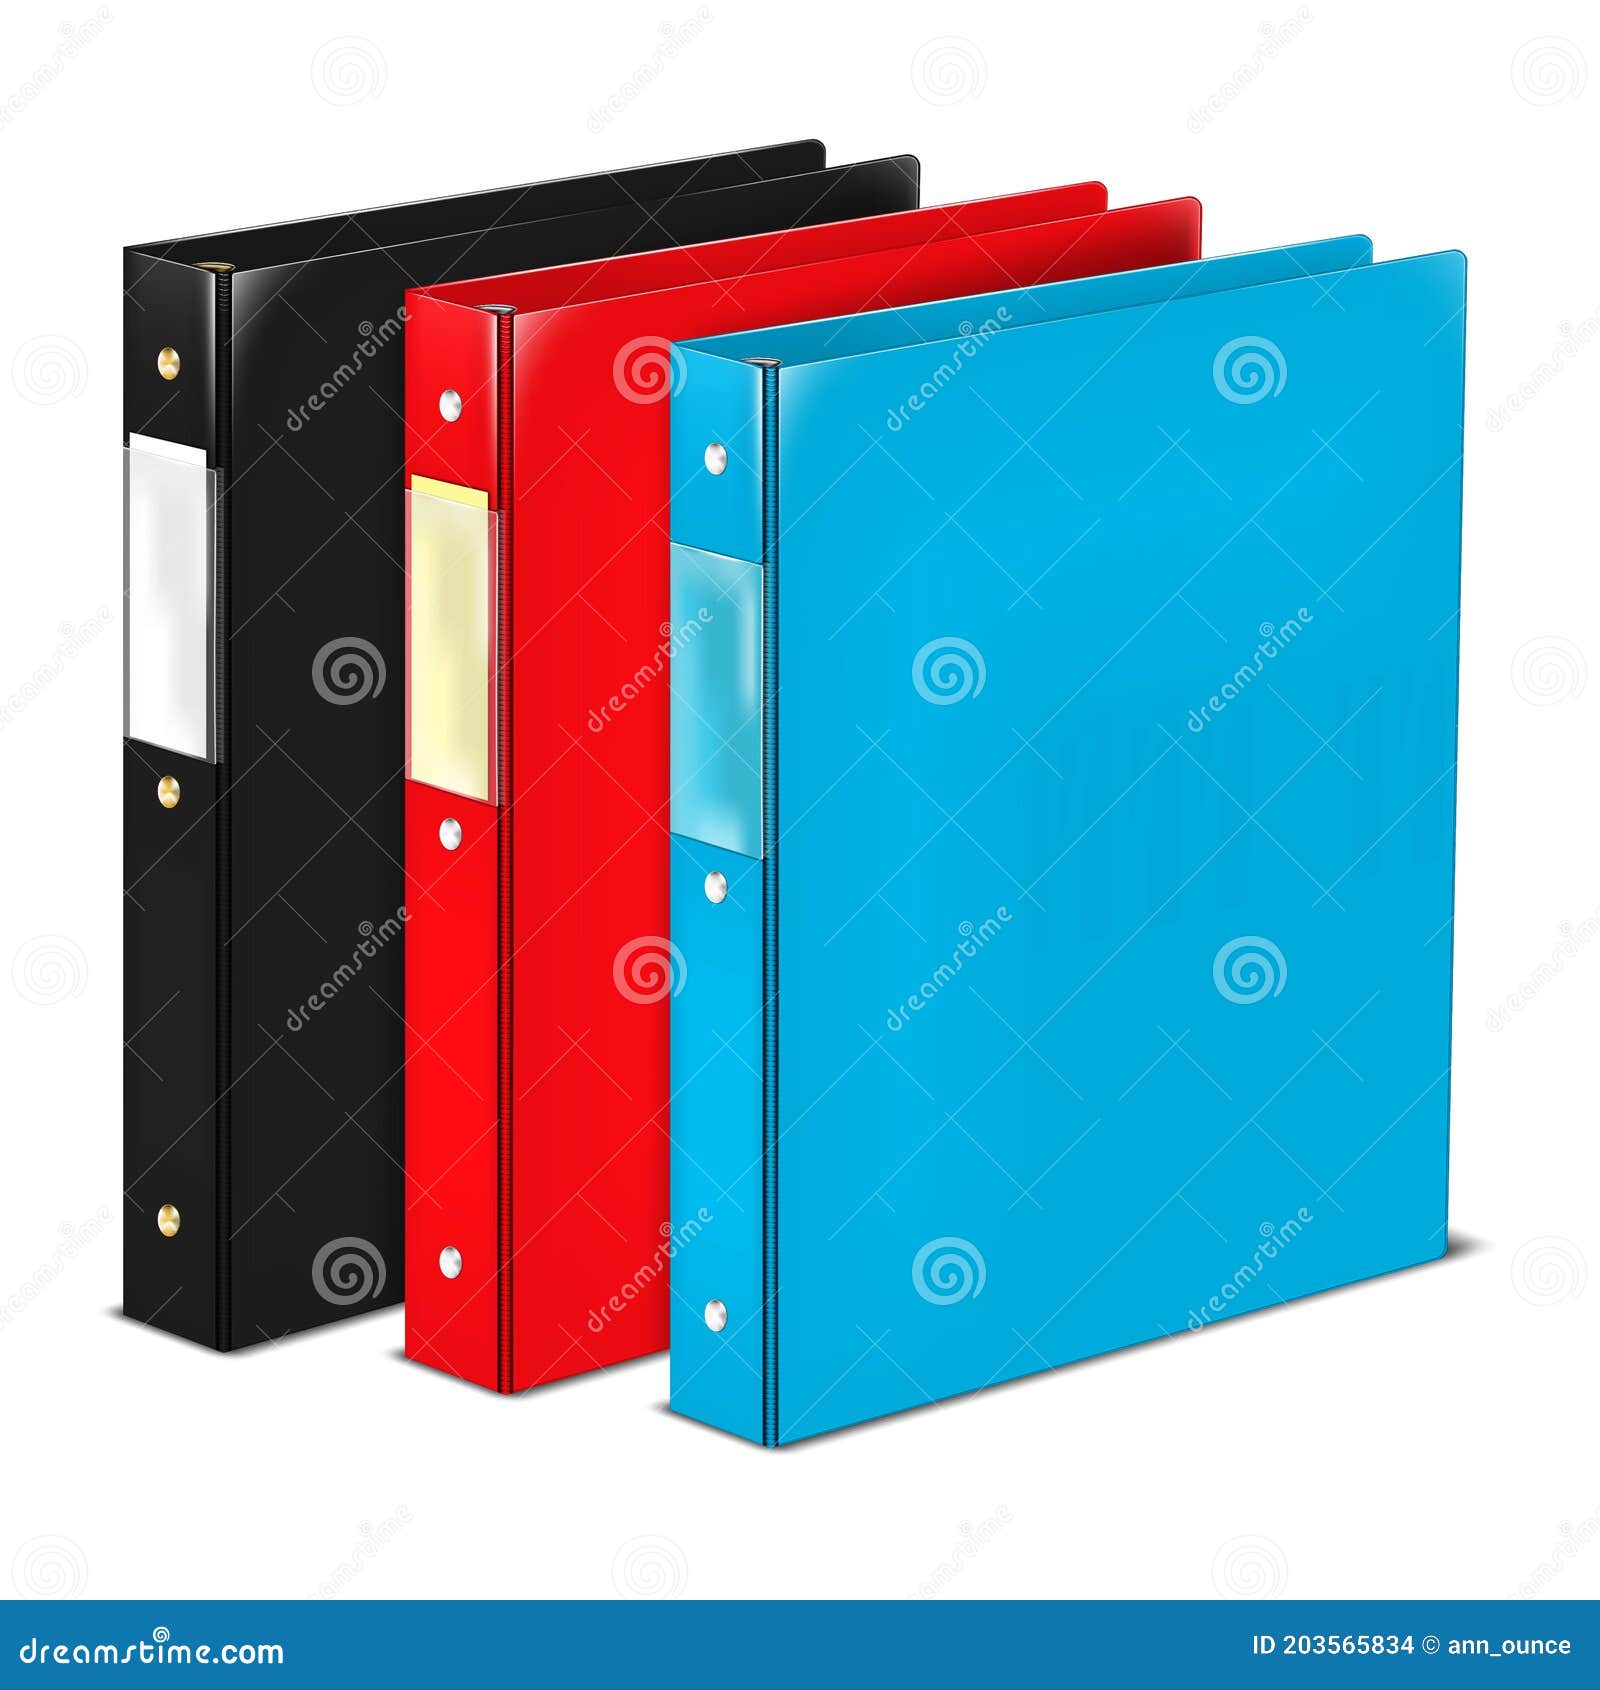
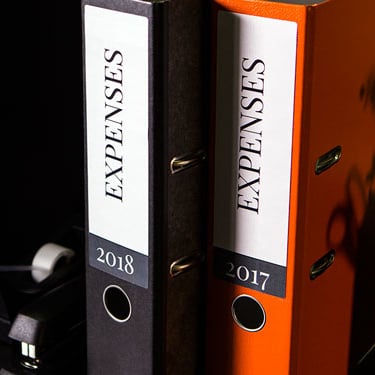
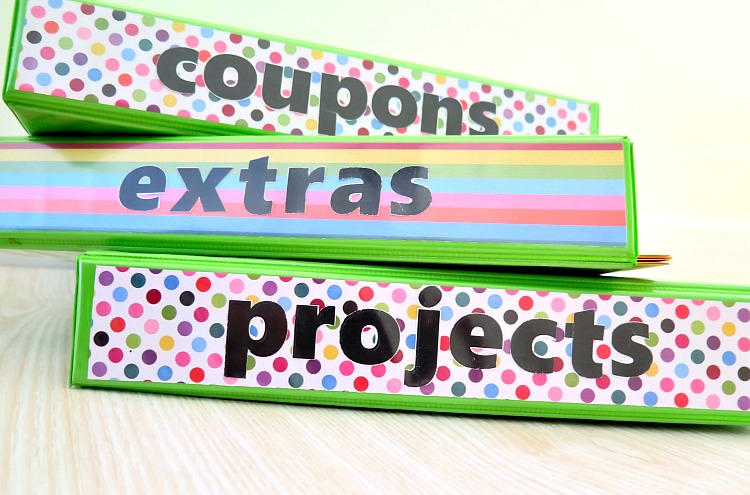
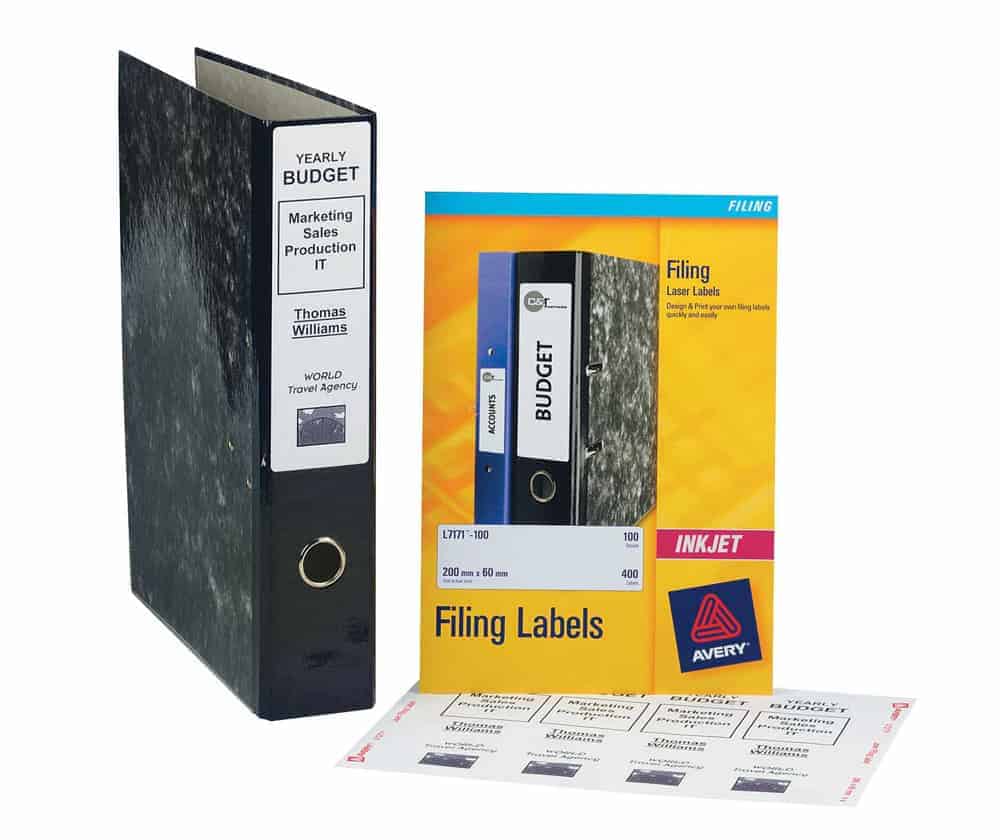
Editable binder label template with Word FREE - EZYcount For a professional look, your binder should have a spine label written in block letters. To do this, you need our complete 3-page template in WORD format to make spine labels for the 7cm and 4cm federal binders. We have created a template to make labels directly from your home on your printer. If you are an Apple product user, follow this link ... How to Store Binders (Personal or For School) Once you have a clear and segregated category of files in each binder, you should label the binders. Label the project files binder by the name of the project. Or, if the project has too many files and has to be done in stages, you can separate the files of the stages and label their binders "Stage 1", "Stage 2", and so on. Most binders ... 21 Brilliant Binder Clip Hacks All Teachers Need to Try We've found a whole collection of binder clip hacks that teachers are sure to love! 1. Mark your place with a friendly binder clip Glue some googly eyes to a binder clip and you have the cutest bookmark around! These make a fun and inexpensive gift for kids. Learn more: A Girl and a Glue Gun 2. Corral your loose cables Free Printable Binder Cover Templates | Create Online - 101 Planners Click on either of the binder backgrounds above to open the app. 2. Select a background. There are different designs available (stripes, chevron, polka dots, diagonal dots, etc). 3. Select a label. 4. Add a design or image if you want (such as flowers or cute ice cream). 5. Select a color for each element. 6.
How to Remove Labels From Binders | Bizfluent Step 1. Moisten label with a substance that will break down the glue and release the rest of the label. Some effective substances include vinegar, cooking oil, rubbing alcohol, nail polish remover, peanut butter or a glue removing solvent. Allow to saturate for at least five minutes. Step 2. FREE Binder Spine Template | Customize then Print - 101 Planners Binder Spine Template. Free binder spine template that can be customized online and then printed. You can create a 3, 2 or 1-inch binder spine template but since the template is editable it can be used for other sizes too. You can change the color of the background and the label (except for the gold designs). 40 Binder Spine Label Templates in Word Format - TemplateArchive If you'd like to make your binder spine label templates easily, you can make them in two ways. Here we will discuss steps in how to edit ready-made templates to suit your binder needs: Use Built-In Templates in Microsoft Word Open the software and open the search function. Type in the word "binder" and press enter. Decorative 3 Ring Binder Labels / Paper Organization Series Here's my rule of thumb measurements to cut your paper: 2 inch wide 3 Ring Binder =2 inches wide & 11 inches tall, so cut your paper to 1 1/2 inches wide & 10 1/2 inches tall. 3 inch wide 3 Ring Binder = 3 inches wide & 11 inches tall, so cut your paper to 2 1/2 inches wide & 10 1/2 inches tall. Now you're ready to type the wording of each ...
1.5 3 Ring Binders - Extra Wide Quality Binders
3 Ways to Organize a Binder - wikiHow You may use a permanent marker, label maker, or printer to label your tabs. Method 2 Organizing Your Binder 1 Get a three-ring binder. Choose a size that is best for you. Binders can be 1 inch, 2 inches, 3 inches, or 5 inches. If you are using the binder for more than one class or subject, get a 3 or 5-inch binder.
Replacement Spine Labels for Leitz R80 Binder
How do I print a vertical binder spine in Word? Click on PRINT and select the FROM option. Set the From/To values to reflect the number of blank labels on each sheet (i.e. if you have 21 blank labels per sheet, test print addresses 1-21). You should also review your print settings. Make sure you select a "Labels" or "Heavy Paper" print setting. What is vertical pitch on word Labels?

3 Ways to Insert a Label Into a Binder Spine - wikiHow
08 Free Printable Binder Spine Label Templates - TemplateHub Select Suitable Design and Medium of Label Design: Then there is the inspection of the binder to check how much thick labels can be inserted into the space. As suggested above, small binders have small space so the only regular paper can be inserted while a bigger folder has more space so you can insert thick cardboard inside if you want.

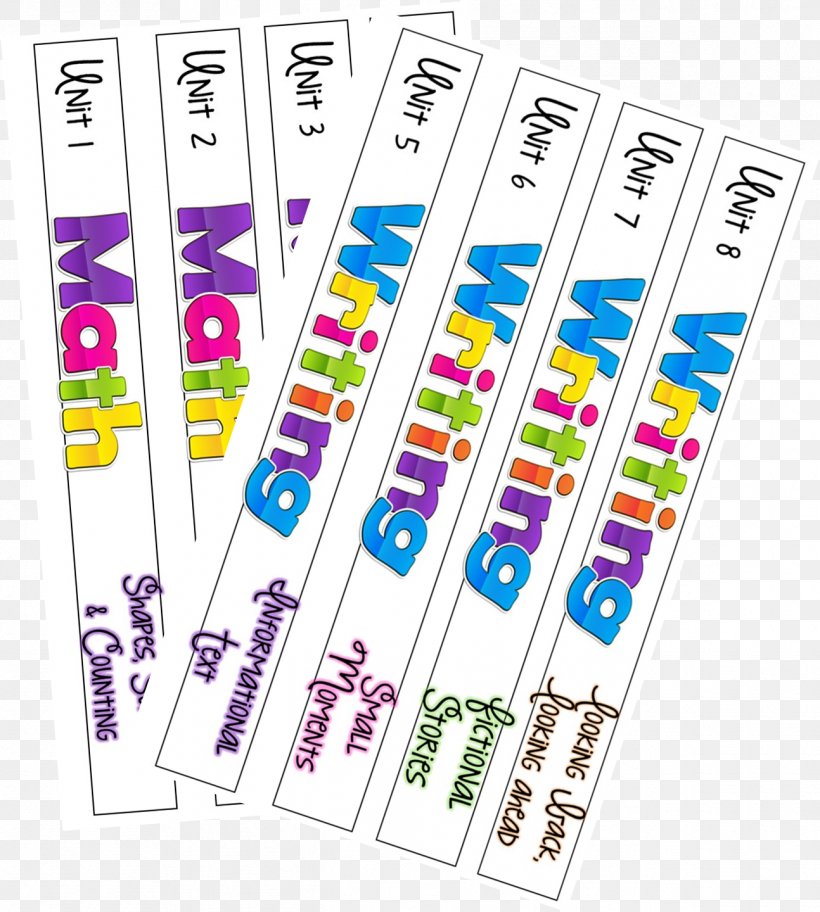
Subject Binder Spine Labels - Free Printable - Teach Junkie
2" binder spine inserts (4 per page) - templates.office.com 2" binder spine inserts (4 per page) Label your notebook with this 2 inch binder spine insert template. Template has four 2 inch inserts per page. Create your own binder spine with this 2 inch binder spine insert template for 3 ring binders. This is an accessible template. Word Download Share

Binder Labels with Cricut
Binder Labels - Blank or Custom Printed | OnlineLabels® Choose the configuration above that best fits with your binder, or shop all of our standard size labels. Choose the best material for the job. Select from various metallics, fluorescents, and more for easy color-coding, pick our blockout labels for covering up existing markings, or try our removable labels for easy repositioning.
Binder Labels in a vintage theme by Cathe Holden | Free ...
Need Ideas On How To Label Binder Spines - Stamp Community Forum Too many album publishers provide their customers with self adhesive labels then provide binders with grained surfaces that almost guarantee the label will peel off in a few weeks. Scott and a few others at least have binders with a flat surface for a label. Send note to Staff : Edited by Stamps1962 - 05/25/2019 11:12 am:

Take All Pembatas Binder Label Kertas Origami - Buku ...
How to Set Up a Perfect Binder | Bizfluent Step 3. Purchase your supplies. Don't forget items like CD/DVD sheet protector pages or business card protectors. These items can keep important information (and back-up disks) with the printouts. Step 4. Insert your index dividers in the binder. Create a label for each divider. Step 5. Create a table of contents.
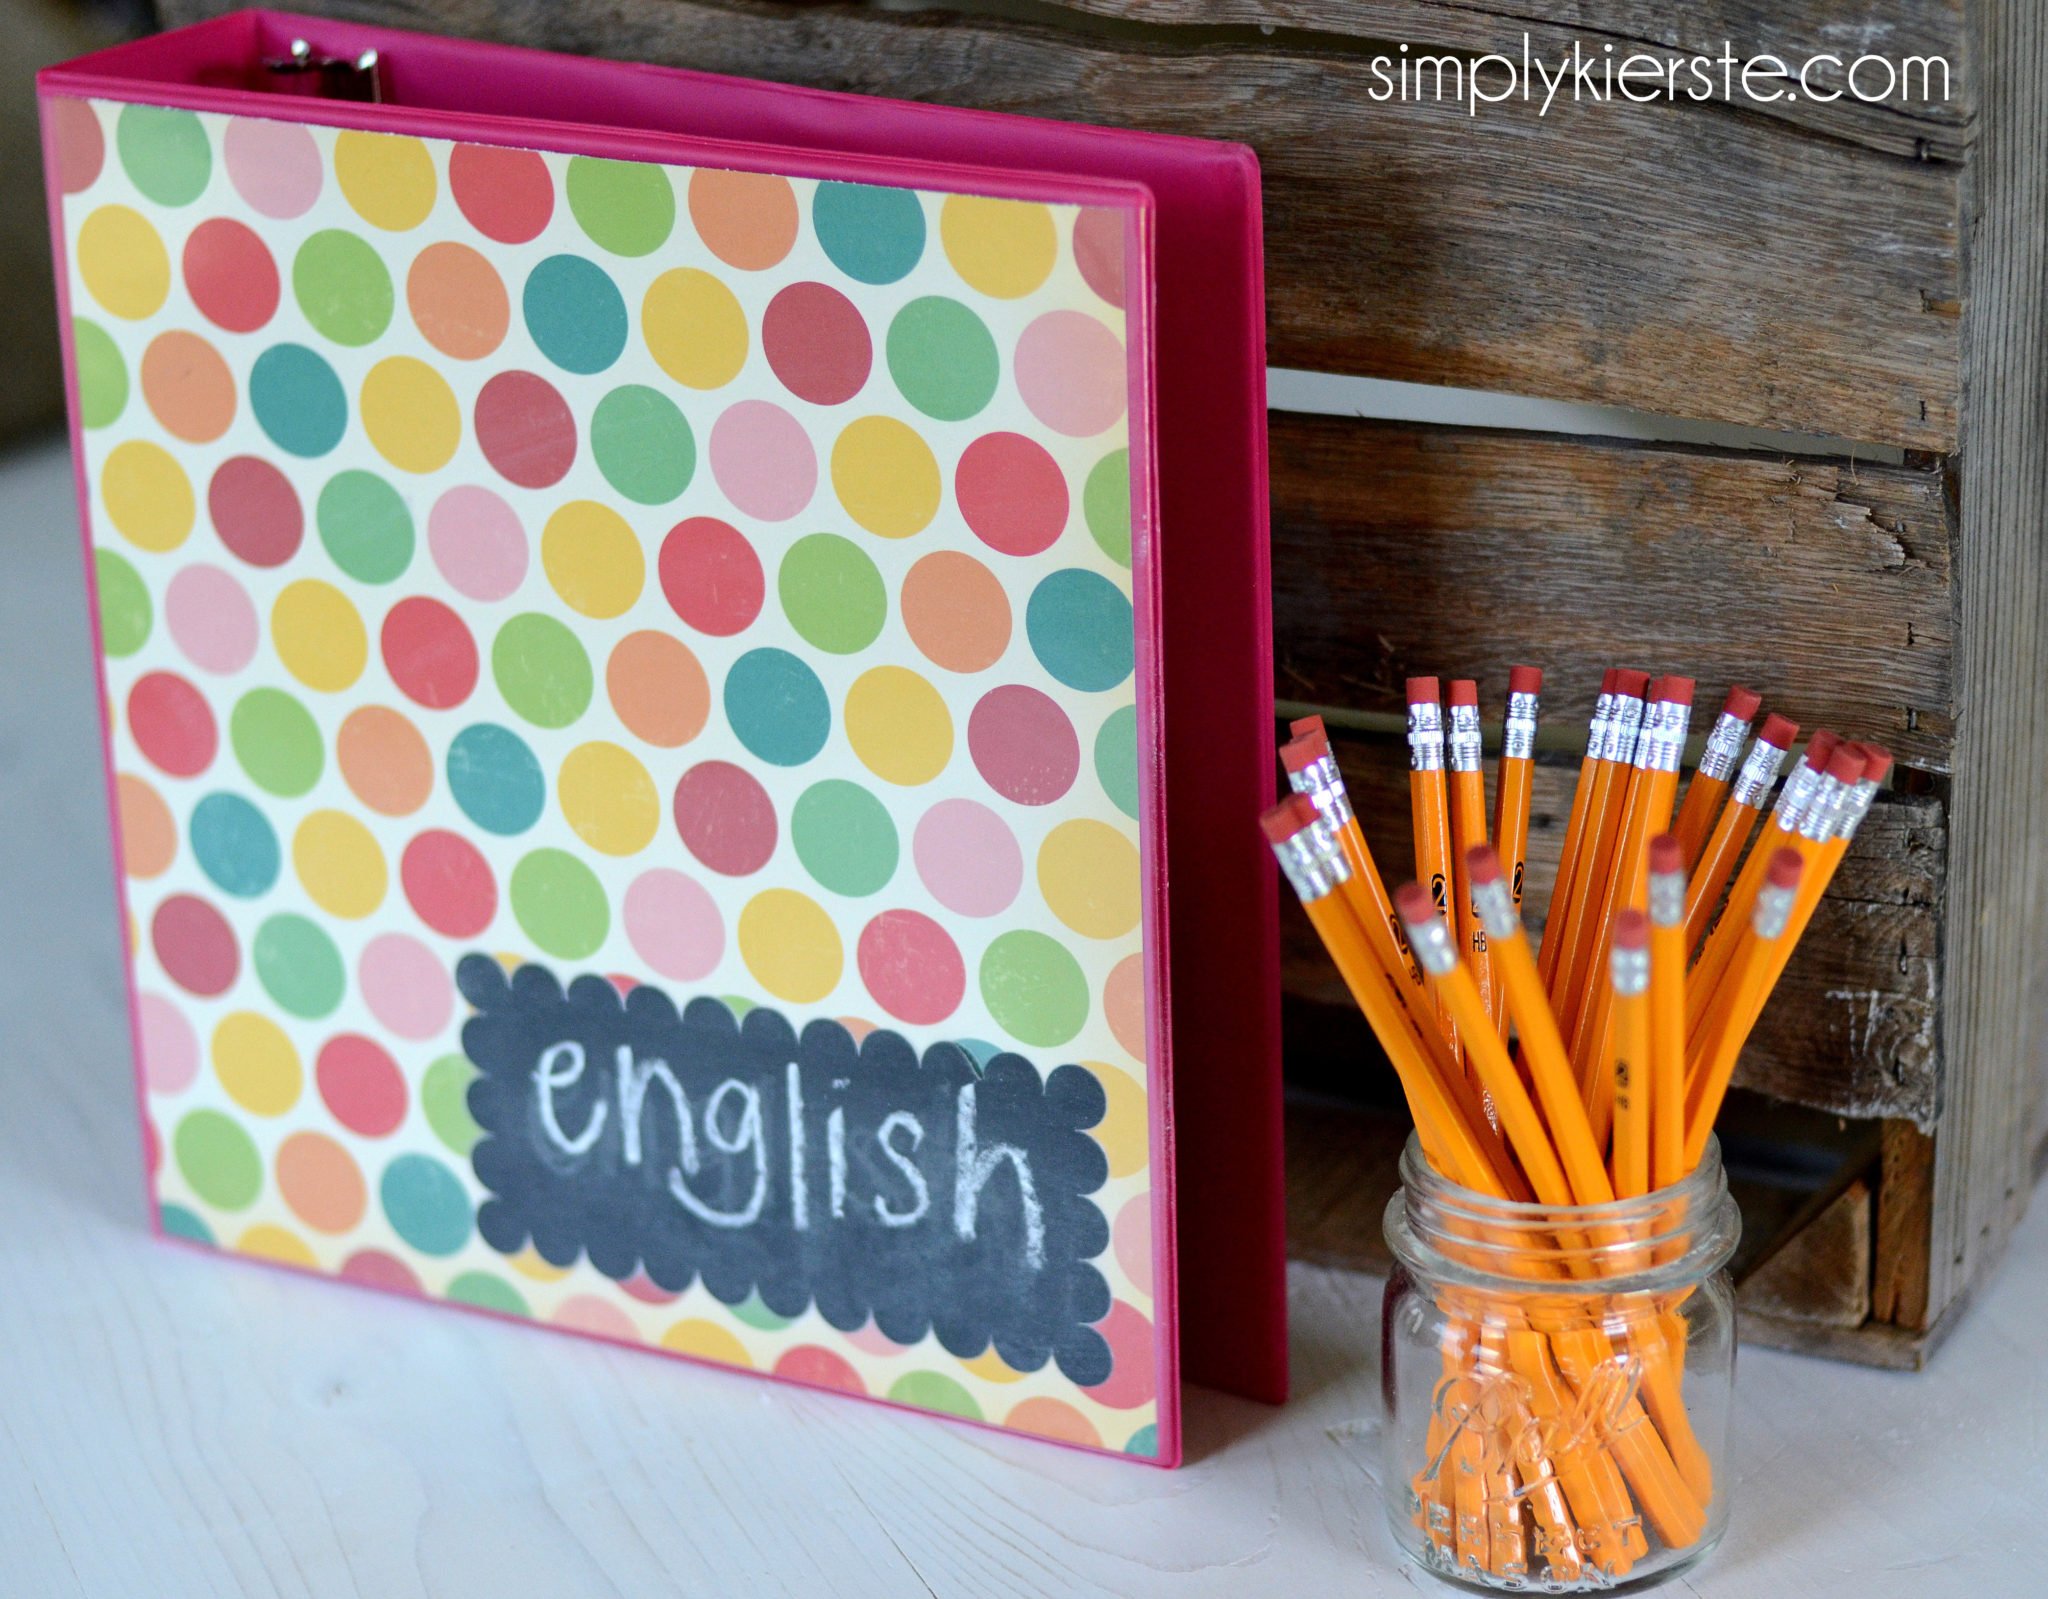
Chalkboard Binder Labels | oldsaltfarm.com
50 Amazing Binder Spine Label Template, Benefits, Tips & Steps to ... This is a tutorial on creating a template for binder spine labels with Microsoft word. Open Microsoft Word and press the Home button to see where you are. Right-click on the page and select "New Blank Document." Create a header that says "Binder Spine Label Template" at the top of the new document

Professional Label Template for Keepfiling Binders. Design No. 1
Create Spine Inserts for Presentation Binders using Templates Under Binders, click on Binder Spine Inserts to narrow your search. Then, under Template Types, click on "Browse Avery Designs" Step 3: Choose a Template You'll find a variety of predesigned templates to choose from. Click on the Binder Spine Insert link for the template you want to use. Select the right size binder for your Binder Spine Insert.
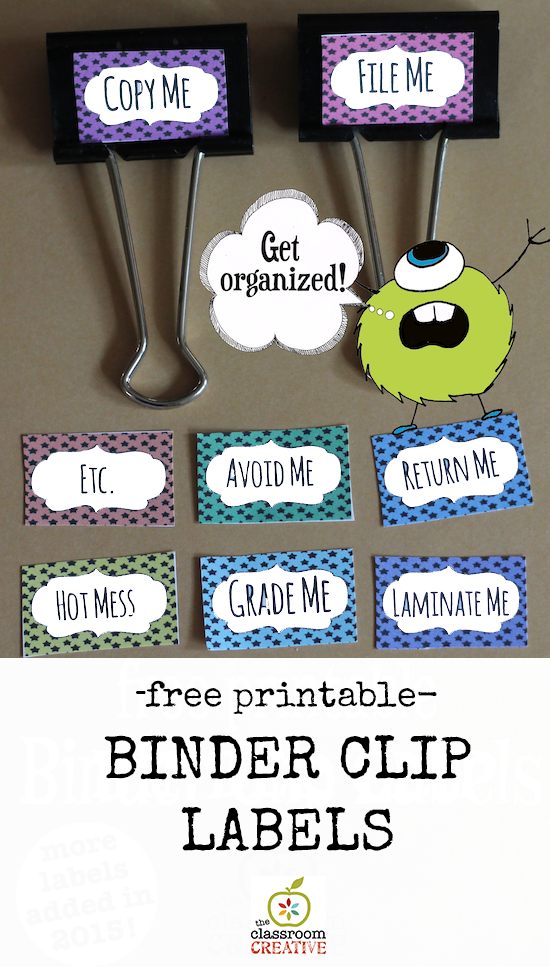
Classroom Organization: Binder Clip Label (Free Printable)
How to Make a Basic Family History Binder - Family Tree Magazine Assemble Your Binder. Step One: Set apart research materials (photocopies, printouts, written notes) relating to a single family line. Plan up to 100 pages of office-grade paper per 1-inch ring size, or 30 to 40 pages if using sheet protectors. Step Two: Place a pedigree chart in the front of the binder.

3 Ways to Insert a Label Into a Binder Spine - wikiHow
How to Create Binder Inserts in Microsoft Word - YouTube Subscribe Now: More: binder inserts in Microsoft Word...
Binder Labels - Etsy
3 Ways to Insert a Label Into a Binder Spine - wikiHow Customize these however you wish for an easy way to create a typed label of exactly the right size. [1] Method 2 Putting the Label Into the Spine Download Article 1 Turn the binder inside out and upright. Open up your binder and bend back the front and back covers until they are completely in the other direction.
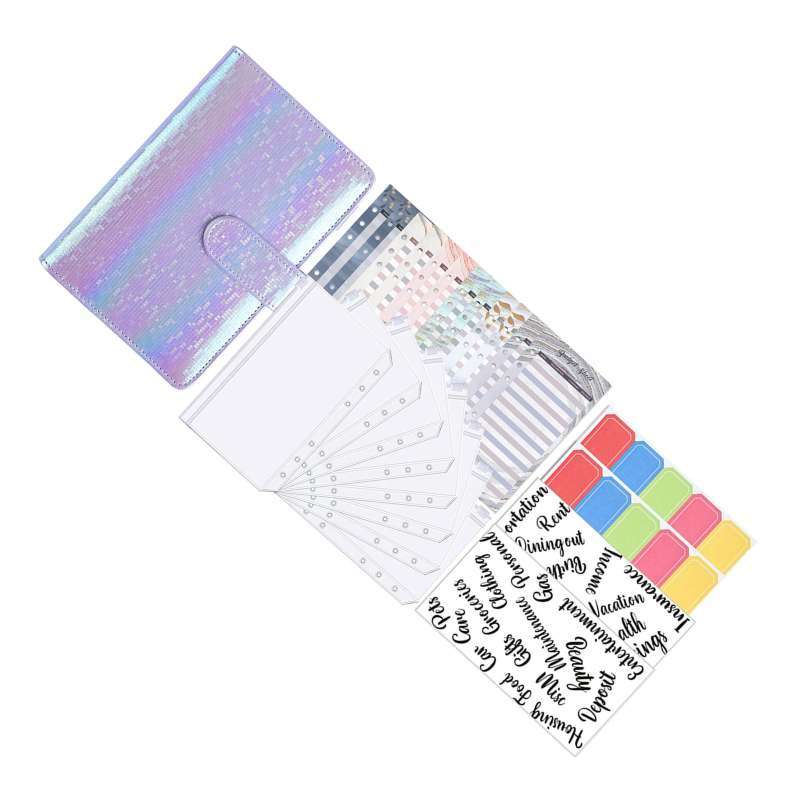
A6 Budget Binder Planner Label Sticker Notebook for Budgeting Expense Saving Purple
DIY Binder Dividers: Free Printable Templates - Blue Summit Supplies Step 1: To reinforce the edge of your DIY binder dividers, apply a long strip of packing tape over the left edge of each piece of cardstock, folding it over so that it covers the entire edge. Then, punch the divider with a 3-hole punch for use in a binder.
Closed Ring Binder File Folder with Label Holding Pocket on ...

Binder Spine Template 07 | Binder spine labels, Binder labels ...
Ring Binder Paper Résumé Label Template, PNG, 1294x1440px ...
BINDER WENGU A5 B5 LABEL TRANSPARAN TALI RING BESI PASTEL (B-0172)
Green Oath Ring Binder, 1 Inches Capacity, Spine Pocket with ...

Binder Spine Labels, 1 3/8 H x 5 3/8 W, Blank, Pink, 200/Roll

Jual Binder Bambi Full Spine 4 Colour Labels 1175 - PT. Best ...
INDEX BINDER NOTE A5 10 WARNA PEMBATAS PLASTIK BINDER NOTE 20 ...
Tmr Forbetter Buku Catatan A6 Dengan 2 Stiker Label Binder + 8 Saku + di Tomira Ofc | Tokopedia
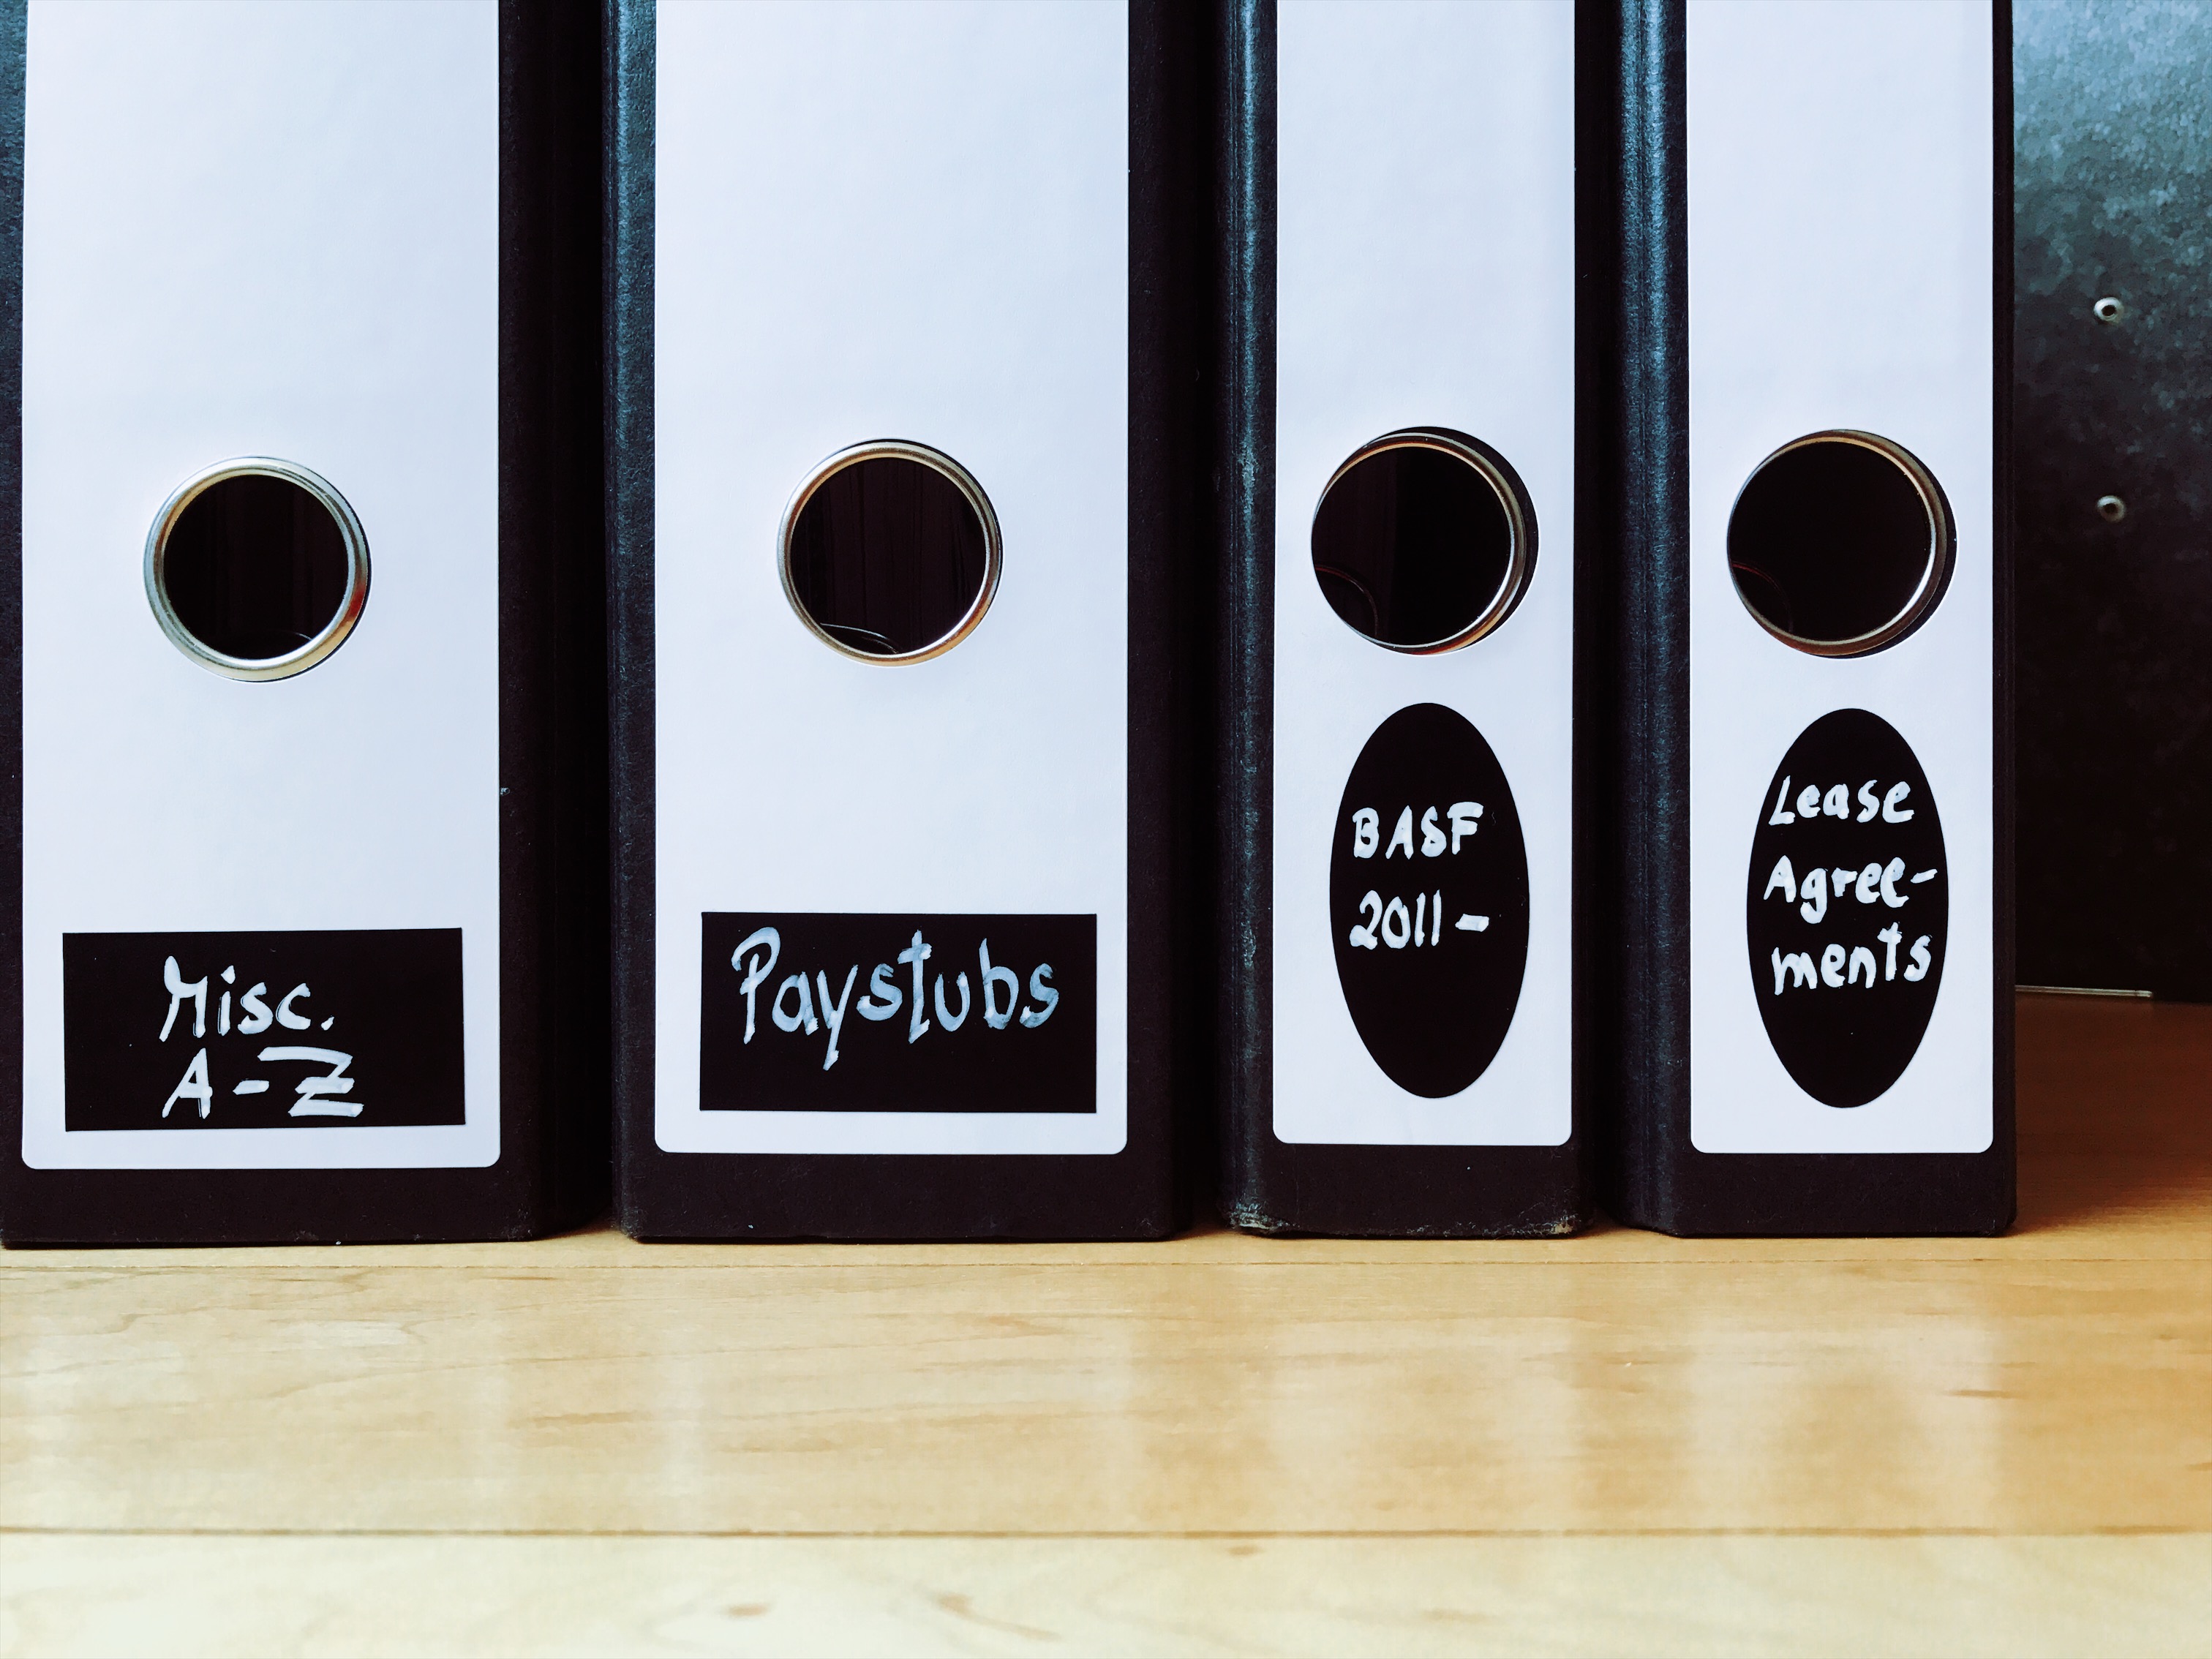
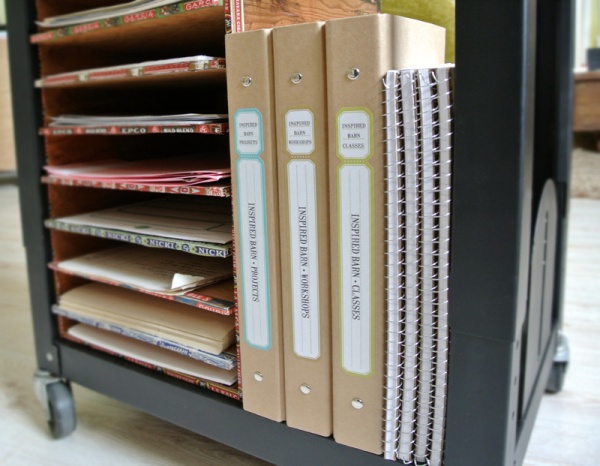
Easy And Minimalist Solution For Binder Spine Labels

DIY Binder Covers & Spine Labels - Caught by Design
2" binder spine inserts (4 per page)

Binder Label System | Happy Smurfs Dev
Binder Spine Labels for Pokemon Base through Guardians Rising ...

Room No. / Patient / Doctor Preprinted ID Labels for 1.5 – 4” Ring Binder Spines - Roll of 200

Solid Color Spine Label Template in the colors Orange, Light ...

PLEPIC STICKY Binder Label 3 Hole Paper Binder Accessory Removable Sti

Erasable Binder Labels Refills
Binder Labels - Blank or Custom Printed | OnlineLabels®

3 Ways to Insert a Label Into a Binder Spine - wikiHow
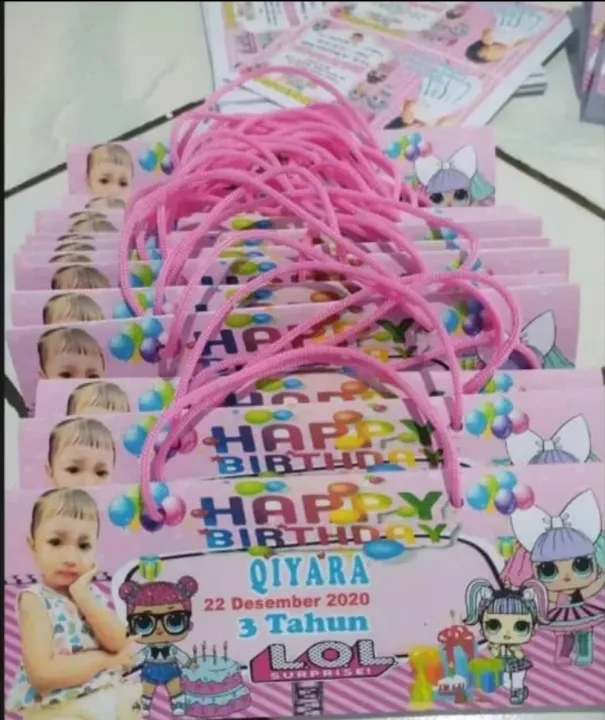
binder ulang tahun, label ulang tahun, label Snack ultah ...
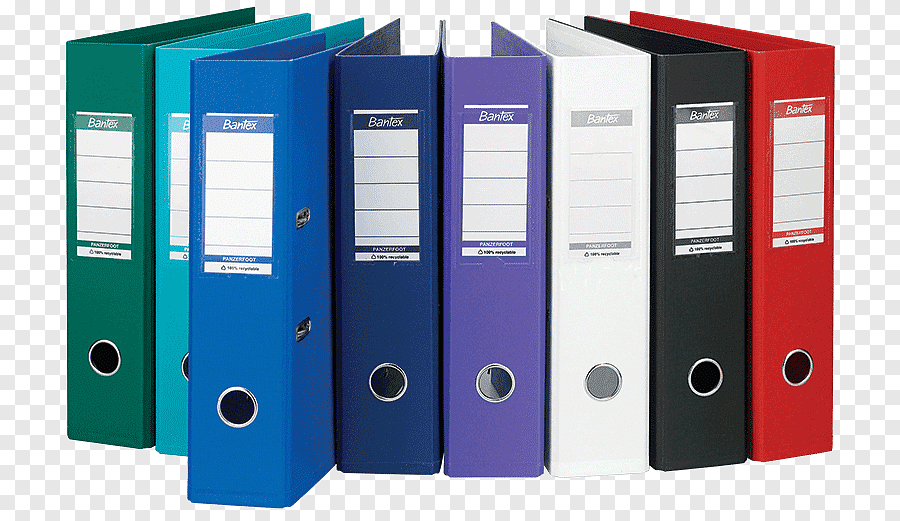
For Ring Binders – Bantex
Sisipan label binder 2” (4 per halaman)
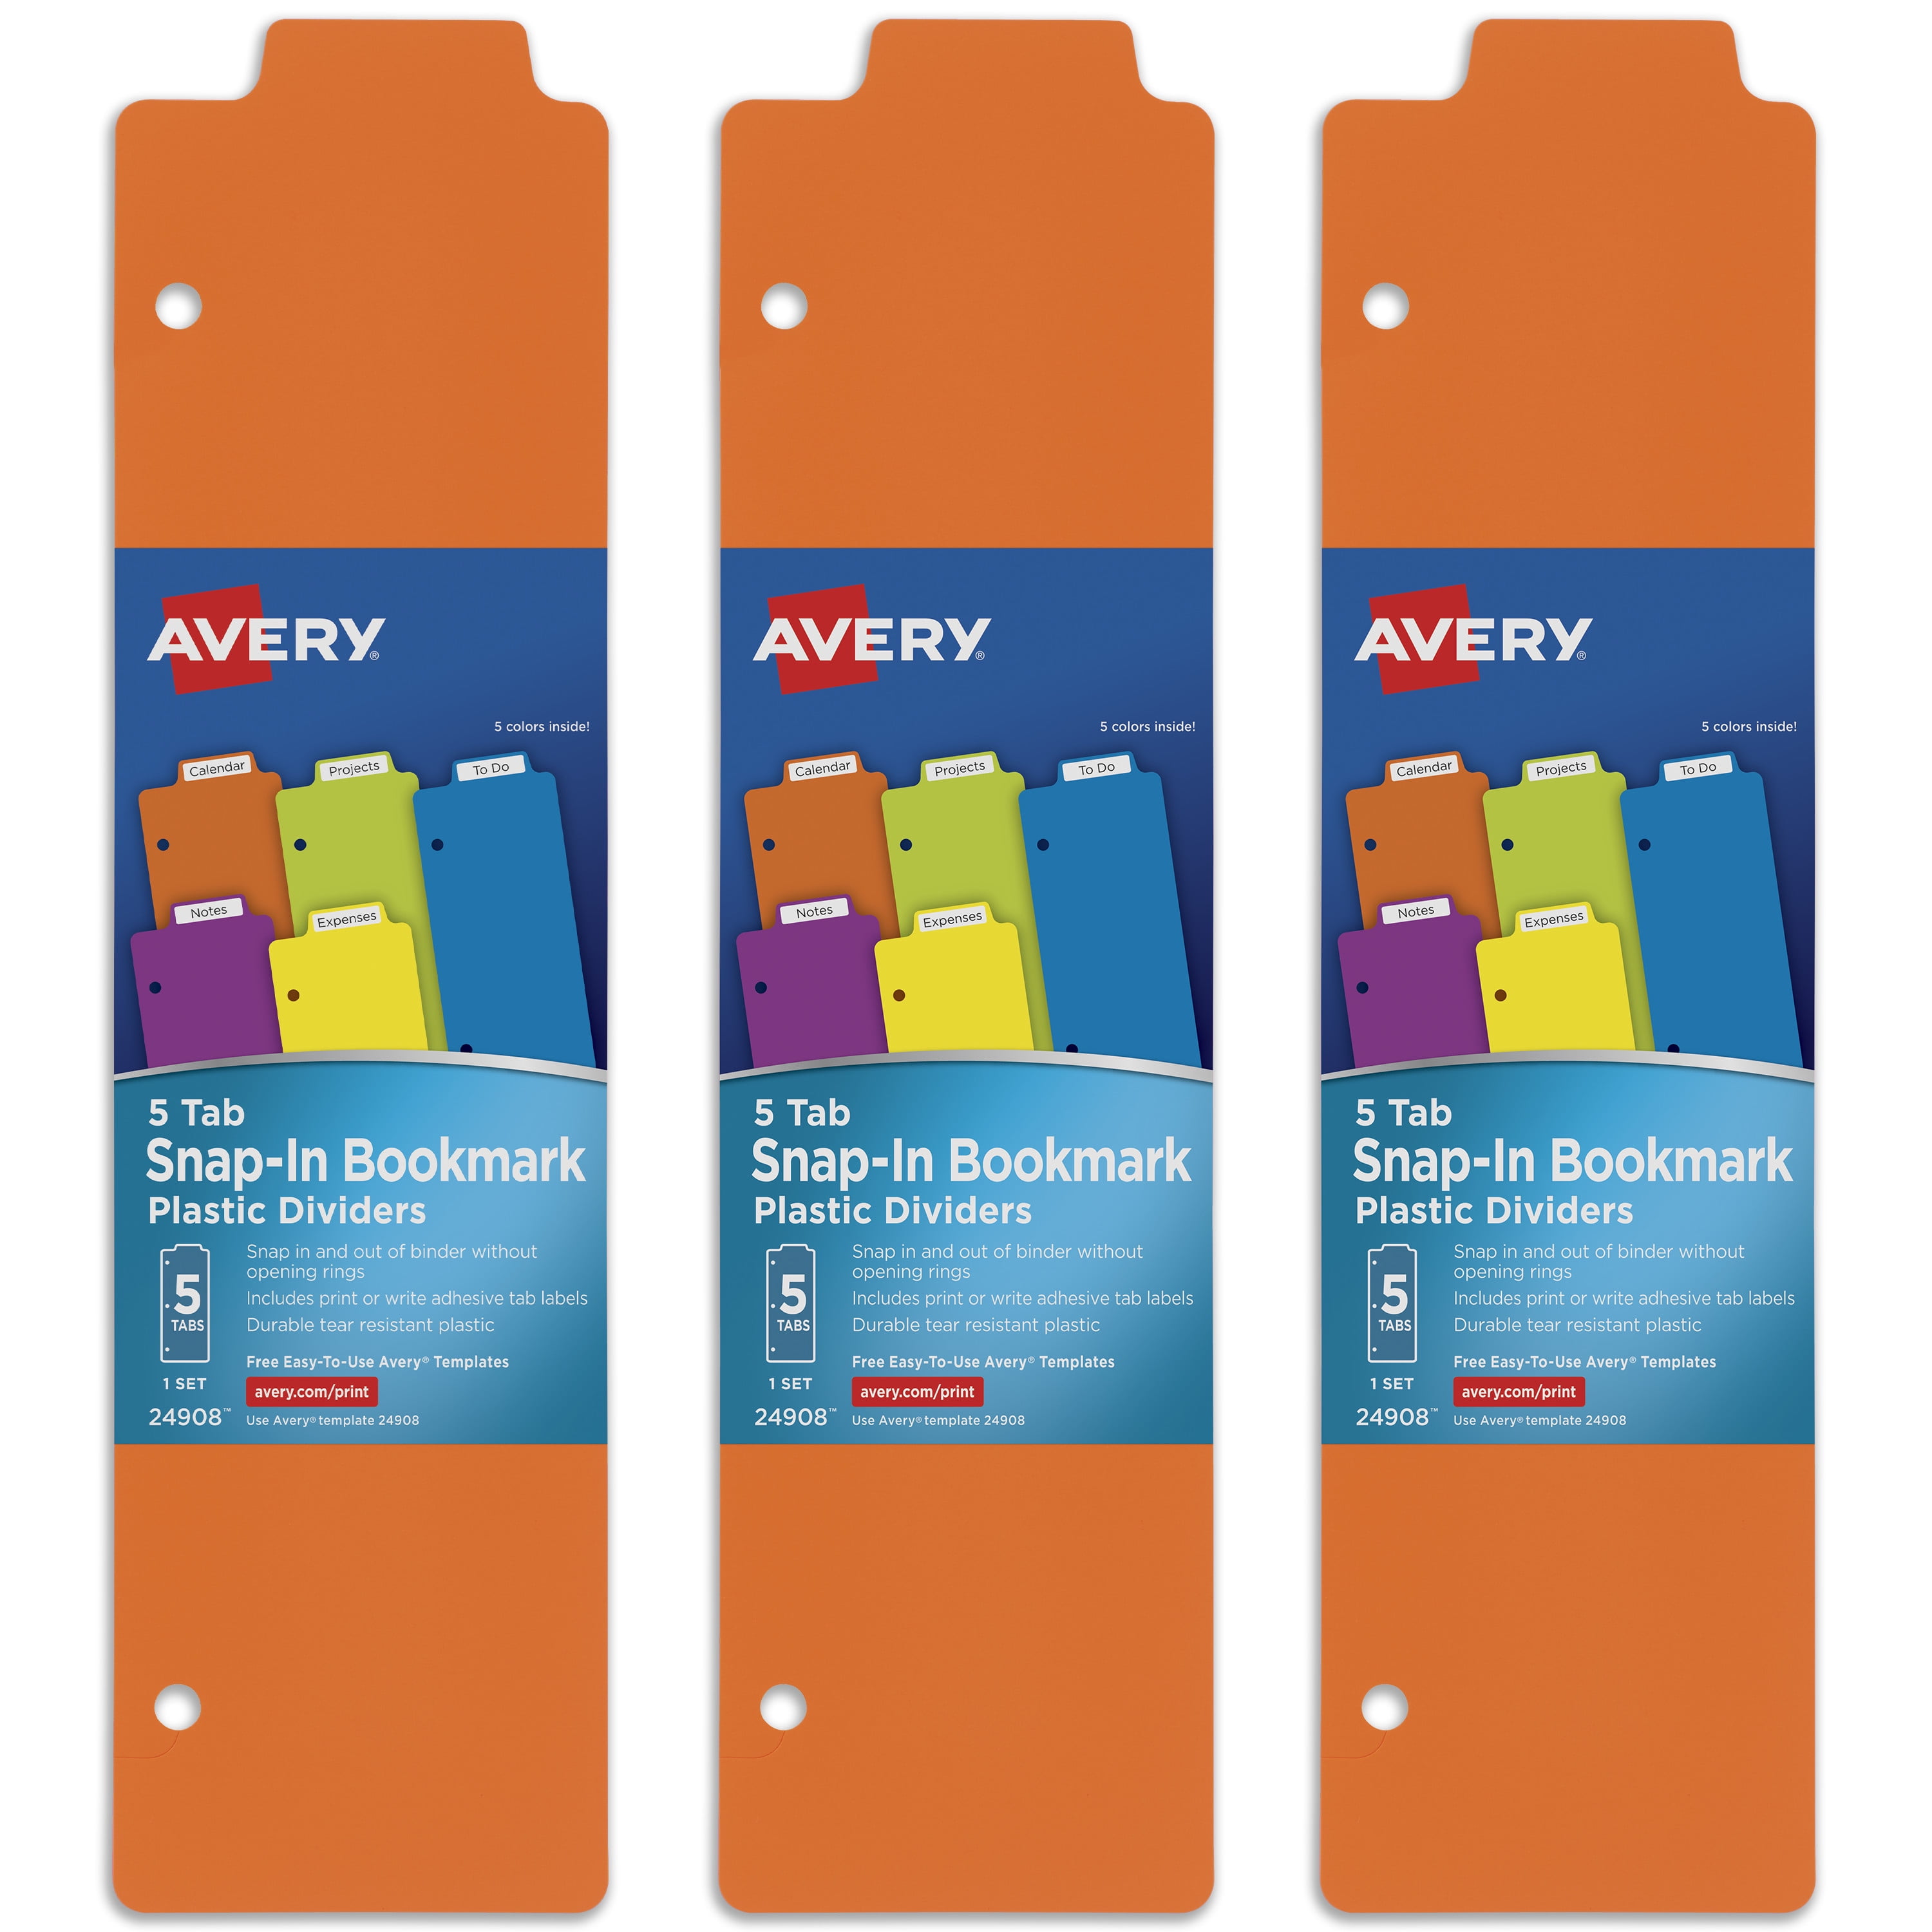
Avery Snap-In Plastic Bookmark Dividers for 3 Ring Binder, White Labels, 1 Assorted Color Set of 5 Tabs, 3 Packs, 15 Page Dividers Total (24908)
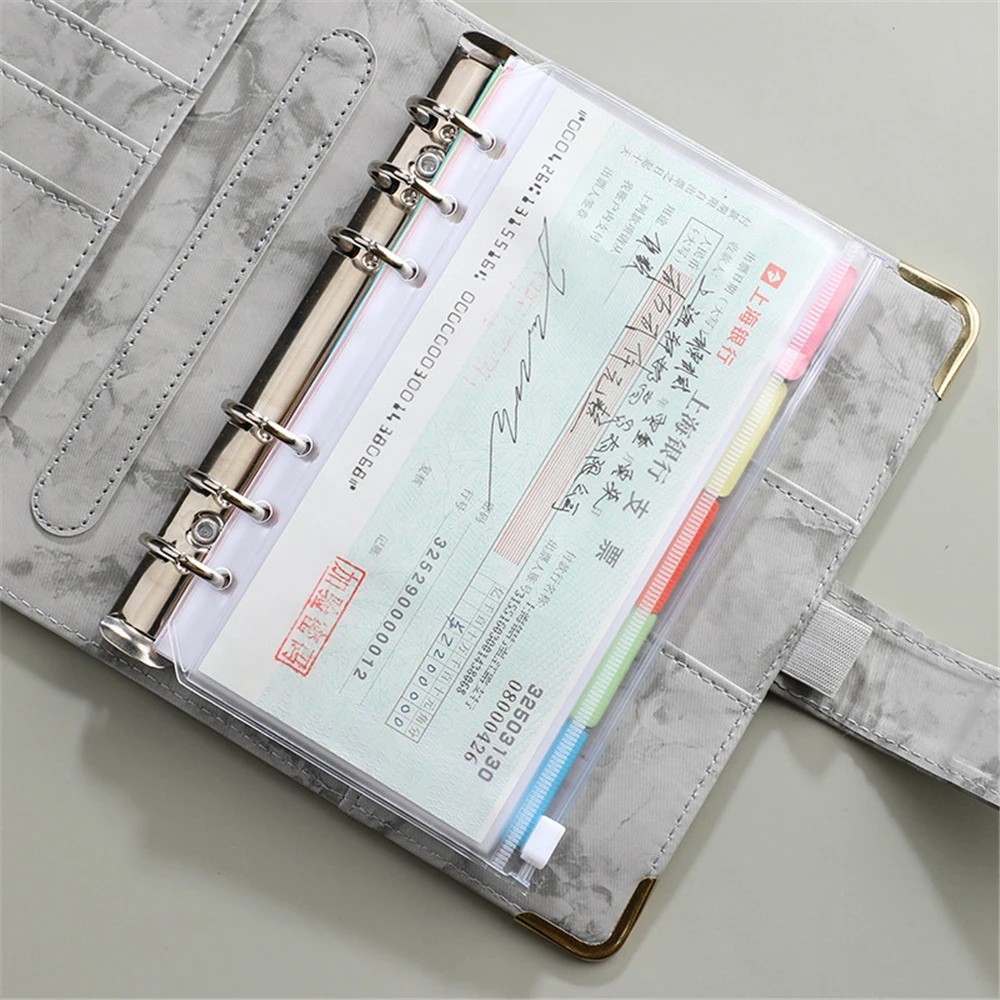
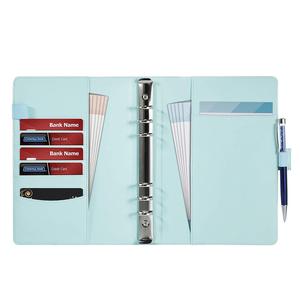
Sistem Amplop Kas Binder Anggaran Kulit Marmer dengan Lembar ...
Decorative 3 Ring Binder Labels / Paper Organization Series
A4 Avery Ring Binder Labels - 18 Per Sheet - Pk25
Jual 4 Sheets/set Index Stickers Creativity Pagination Label ...

40 Binder Spine Label Templates in Word Format - TemplateArchive
Ring binder Paper Office Supplies Label, metal edge, label ...


Komentar
Posting Komentar